
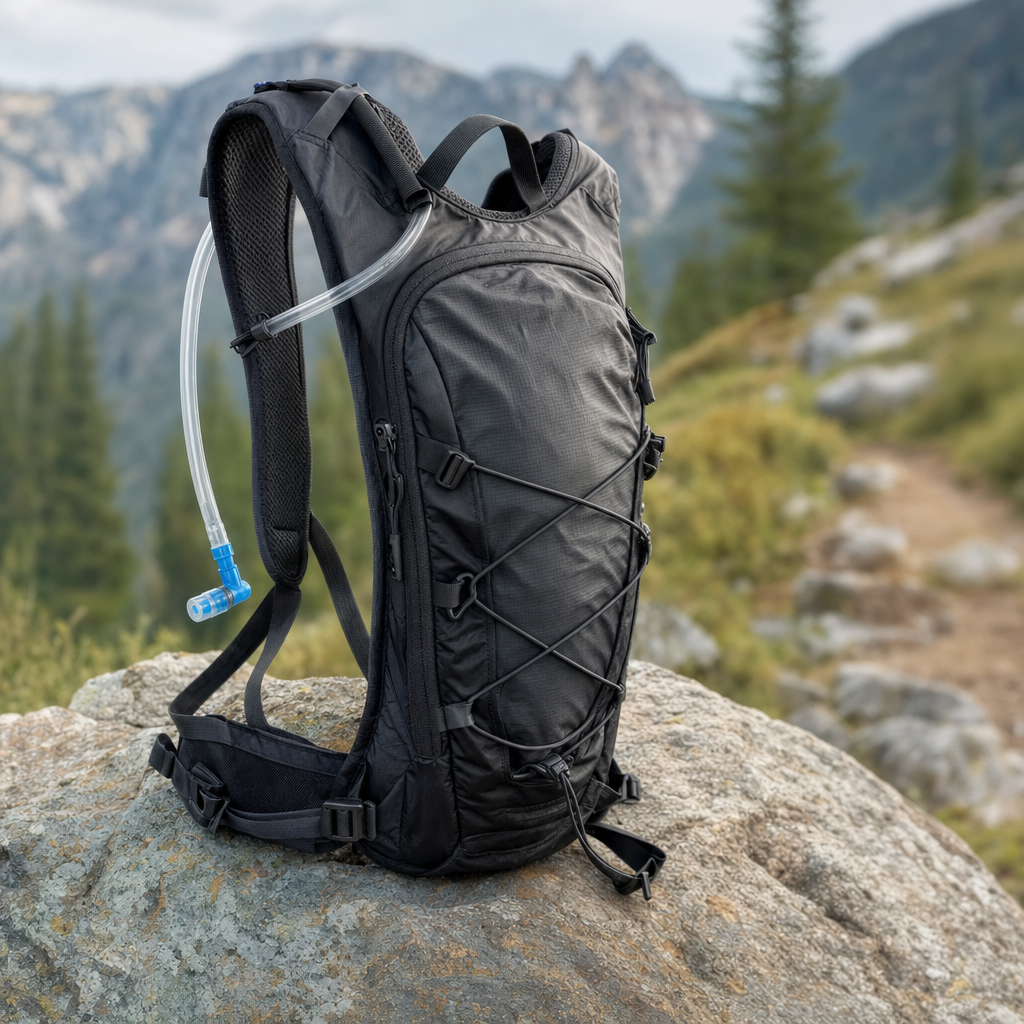
Understanding the Anatomy of a Hydration Pack
When searching for the best hydration pack, understanding the fundamental components is essential. At its core, a hydration pack combines a wearable backpack with a specialized fluid reservoir, commonly known as a bladder, connected to a flexible drinking tube and a bite valve. This design allows outdoor enthusiasts to drink water hands-free while on the move, eliminating the need to stop, unclip a traditional water bottle from a side pocket, and unscrew caps. Most modern systems utilize food-grade thermoplastic polyurethane for the bladder, ensuring durability and minimizing any plastic taste in your drinking water over time.
Beyond the basic water bladder, these packs feature storage compartments designed to carry essential gear such as multi-tools, extra layers, first aid supplies, and nutritional snacks. The external fabric is typically constructed from rugged ripstop nylon or polyester to resist abrasions from tree branches, rocks, and rough trail conditions. Ergonomic shoulder straps, padded back panels, and breathable mesh materials work together to distribute weight evenly across the torso, reducing fatigue and preventing uncomfortable hot spots during long endurance activities or strenuous mountain ascents.
Key Factors to Consider Before Choosing a Model
Selecting the most appropriate hydration pack requires evaluating your specific activity level, the duration of your typical outings, and your personal storage needs. For short trail runs or quick mountain bike loops, a minimal low-profile pack with a one to one-and-a-half-liter capacity is usually sufficient. Conversely, all-day alpine hikes or bikepacking excursions demand larger cargo capacities ranging from twelve to twenty liters, along with a two or three-liter reservoir, to accommodate extra clothing layers, emergency blankets, and food rations safely.
Another critical consideration involves evaluating the closure systems and ease of cleaning associated with different reservoir designs. Wide-mouth openings allow users to easily insert ice cubes on scorching summer days and simplify the hand-washing process after a muddy trip. Additionally, consider whether you prefer a magnetic tube clip or an elastic sternum strap retainer to keep the bite valve secure and easily accessible near your shoulder while navigating technical terrain or steep inclines.
Proper Fit and Adjustments for Maximum Comfort
Achieving the correct fit is arguably the most important factor in ensuring a comfortable outdoor experience with any hydration pack. Unlike standard school backpacks that may hang loosely against the lower back, a well-fitted hydration system should sit high and snug against your upper back and shoulder blades. This positioning prevents annoying bouncing and shifting while running or cycling, which can rapidly cause muscle fatigue and chafing along the lower back and hips over extended periods.
Most quality packs feature multiple adjustment points, including adjustable shoulder straps, a sliding sternum strap, and a hip belt or waist stabilizer. To properly adjust your pack, start by filling the reservoir with water and putting the pack on. Tighten the shoulder straps until the weight rests comfortably across your shoulders without digging in, then secure and adjust the sternum strap horizontally across your chest to keep the shoulder straps from sliding outward.
Here are the essential steps for adjusting your pack properly: 1. Fill the reservoir with your intended amount of water. 2. Put on the pack and center the back panel along your spine. 3. Pull the shoulder strap adjustment loops downward until the pack sits high on your back. 4. Secure the sternum strap and adjust it vertically for optimal chest comfort. 5. Fasten and snug the hip belt to transfer weight off your shoulders.
Maintenance and Cleaning Best Practices
Proper maintenance is vital for extending the lifespan of your hydration pack and preventing the growth of mold or bacteria inside the reservoir and tubing. After every single use, especially if you added electrolyte powders, sports drinks, or flavored drink mixes to the water, you must thoroughly rinse the bladder with warm water and mild dish soap. Failing to clean sugary residues promptly can lead to unpleasant tastes, bacterial colonization, and permanent staining of the flexible thermoplastic polyurethane material.
Drying the reservoir completely is just as crucial as washing it. Prop the bladder open using a dedicated drying frame or by folding a clean paper towel inside the main compartment to allow air circulation. You should also detach the drinking tube and bite valve to clean them with a long, flexible cleaning brush designed specifically for hydration systems. Store the completely dry system in a cool, dark environment rather than a damp garage or direct sunlight to prevent material degradation.
Comparing Hydration Options for Different Activities
Different outdoor pursuits demand specialized hydration configurations to balance weight, accessibility, and storage capacity effectively. Mountain bikers often favor packs with built-in spine protectors and dedicated helmet carry systems, ensuring safety and convenience during aggressive descents. Meanwhile, trail runners generally prioritize ultra-lightweight vest-style packs that feature front-accessible flask pockets and breathable mesh fabrics, allowing for quick fluid access without breaking stride or removing the pack entirely.
Day hikers have the luxury of choosing traditional technical daypacks that incorporate hydration sleeves alongside extensive compartmentalization for extra gear. Selecting the right category depends on your movement style and gear requirements. Assessing whether you need to carry trekking poles, extra footwear, or heavy photography equipment will help narrow down the ideal design features necessary for your specific outdoor lifestyle and climate conditions.
Frequently Asked Questions About Hydration Packs
Can I put sports drinks or electrolyte mixes inside my hydration bladder?
Yes, you can use sports drinks, but you must clean the reservoir immediately after your activity. Sugary liquids leave sticky residues that encourage mold growth and bacteria if left unwashed inside the dark, enclosed bladder and tubing system.
How do I prevent water from freezing inside the drinking tube during winter hikes?
To prevent freezing in cold weather, blow the water back down the tube into the reservoir after every sip so the tube remains empty. You can also purchase insulated tube covers and specialized winter bite valves designed for sub-freezing temperatures.
What is the average lifespan of a hydration reservoir?
A well-maintained hydration bladder typically lasts between three to five years. Lifespan depends heavily on frequency of use, proper cleaning habits, and how thoroughly the system is dried and stored between outdoor adventures.
Are hydration packs better than traditional water bottles?
Hydration packs offer superior hands-free convenience and better weight distribution for active sports like running and mountain biking. However, traditional water bottles are often preferred for casual walking or easy day hikes due to easier cleaning.
Article Was Generated By AI.